
Nepal Trekking Packing List: Essential Gear Guide

Activities Highlights
Key takeaways
- Pack a three-layer clothing system rather than one heavy coat, so you can adjust from warm afternoons to freezing pre-dawn starts.
- Break in your boots at home; new footwear on the trail is the single most common cause of trip-ending blisters.
- Down jackets, sleeping bags, and trekking poles are cheap and easy to rent in Kathmandu, so you rarely need to buy them.
- Carry a personal health kit and discuss acetazolamide with a doctor before you fly, since altitude sickness can begin around 2,500 meters.
- Keep your main duffel to roughly 15 kilograms if a porter carries it, and put everything you need during the day in your own daypack.
For most Himalayan treks you need a layered clothing system, well-worn boots, a warm sleeping setup, and a small kit of health and safety items, and you can rent or buy much of the bulky gear in Kathmandu once you arrive. The rest of this Nepal trekking packing list explains what actually earns space in your bag, what you can leave at home, and where trekkers most often get it wrong.
Packing for a route like the Everest Base Camp Trek or the Annapurna Circuit feels harder than it should, because a single day can swing from a warm, sweaty climb to a freezing pre-dawn start above 4,000 meters. You are packing for several climates at once, in a bag that a porter or your own back has to carry for a week or more. The goal is not to bring everything. It is to bring the right things and know how to use them.
This guide walks through clothing, footwear, sleeping gear, accessories, and a health kit, then covers the rent-versus-buy question in Kathmandu and the small habits our guides rely on. Where the advice changes for high, cold routes versus lower cultural walks, we say so.
The Layering System: The Core of Any Nepal Trekking Packing List
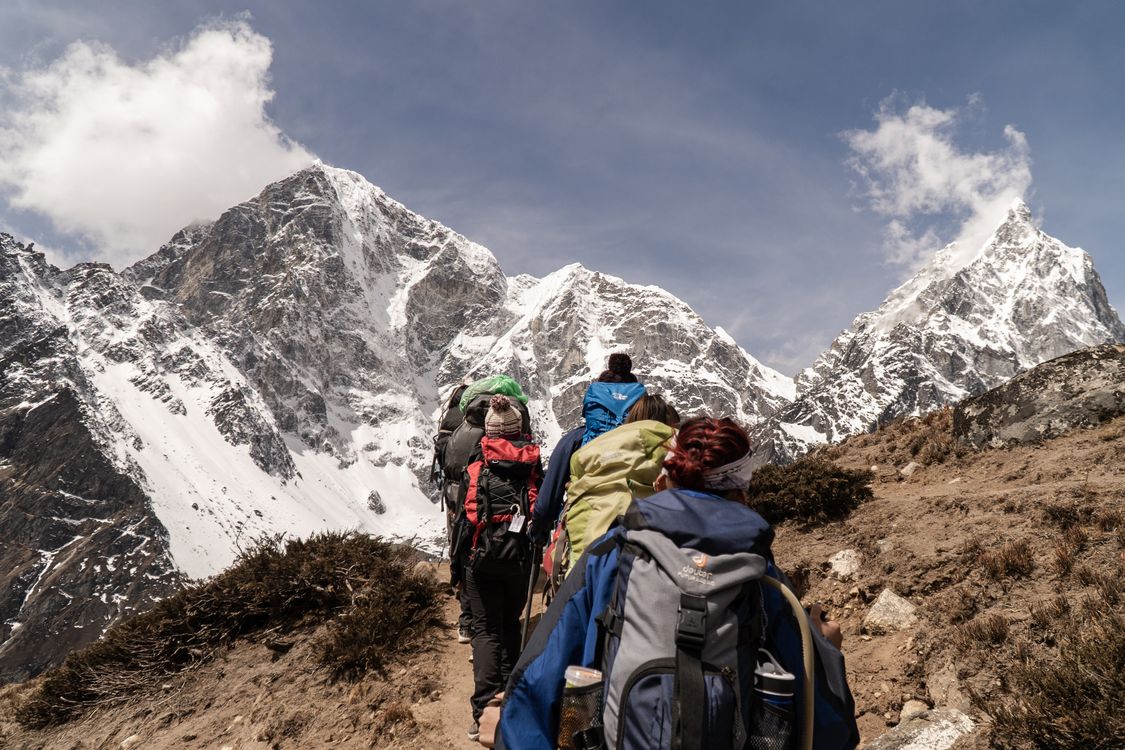
The single most useful concept for Himalayan trekking is layering. Instead of one heavy coat, you carry three lighter pieces you can add or remove as the temperature swings. It sounds like extra bulk. In practice it is warmer, lighter, and far more flexible than a single thick jacket, because you rarely need all three at once.
There are three jobs to cover:
- Base layer: A snug thermal top and bottom that sit against your skin and move sweat away from it. Merino wool or a synthetic blend both work. Avoid cotton here, which holds moisture, chills you when you stop, and dries painfully slowly. Two base-layer tops let you rotate one while the other airs out.
- Mid layer: An insulating fleece or a light down or synthetic sweater that traps warm air. This is what you wear at tea houses in the evening and on cold morning starts.
- Outer layer: A waterproof, windproof shell jacket and matching trousers. Even in a dry season, wind at altitude cuts straight through fleece, and an afternoon squall can arrive with little warning.
On top of those three, a proper insulated down jacket rounds out the system for anything above roughly 3,500 meters. It is your evening jacket, your summit-morning jacket, and your emergency warmth if the weather turns. This is the one bulky item almost everyone brings or rents, and it earns its space.
A quick way to sanity-check your clothing: picture the coldest morning of your trek, then the warmest afternoon, and make sure you can dress comfortably for both by adding or shedding layers rather than swapping whole outfits.
Footwear: The Most Important Choice on the List
If you get one thing right, make it your boots. A good pair of broken-in trekking boots does more for your comfort and safety than any other item, and a bad pair can end a trip within two days.
Look for boots with ankle support and a stiff-ish sole for rocky, uneven trails. Waterproofing helps on shoulder-season routes and anywhere with snowmelt. The most important rule has nothing to do with the boots themselves, though. Break them in at home. Wear them on real walks for several weeks before you fly. New boots on the trail are the most common cause of trip-ending blisters we see, and the trail is the worst possible place to discover a pressure point.
Round out your footwear with:
- Socks: Three to four pairs of proper trekking socks, wool or a wool blend, plus thin liner socks if your feet blister easily. Keep one clean, dry pair reserved for sleeping.
- Camp shoes: Lightweight sandals or trainers to give your feet a break at tea houses in the evening. Small luxury, big morale boost.
- Gaiters: Optional for most treks, useful on snowy passes like those on the Manaslu Circuit or the Everest Three Passes route to keep snow and grit out of your boots.
For lower cultural walks such as the Ghorepani Poon Hill trek, a well-cushioned trail shoe is often enough. For high routes with snow and long descents, the stiffer boot pays off.
Backpacks and Sleeping Gear
Most guided trekkers carry two bags. A porter or pack animal carries the large one, and you carry a smaller daypack yourself. Splitting your kit this way keeps your daily load light while everything else travels ahead to the next tea house.
- Main duffel: A soft, roughly 70- to 90-liter duffel is standard, because it stows easily on a porter's load or a mule. If a porter carries it, most operators cap it near 15 kilograms per trekker, and Mission Nepal Holidays follows that norm to keep loads fair and safe. Pack a waterproof liner or dry bags inside, since duffels are rarely fully waterproof.
- Daypack: A 25- to 35-liter pack you carry every day. It holds water, snacks, your rain shell, an extra layer, sunscreen, your camera, and anything you cannot afford to lose if the duffel goes ahead. A rain cover for it is worth the few dollars.
Sleeping gear depends on the season and altitude. Tea houses provide a bed and blankets, but blankets thin out as you climb higher and nights get colder. A sleeping bag rated to around minus 10 to minus 15 degrees Celsius covers most high-altitude treks in the main seasons. A silk or cotton liner adds a few degrees of warmth and keeps the bag cleaner. Sleeping bags are bulky and expensive to buy for one trip, which is exactly why so many trekkers rent them in Kathmandu instead.
Essential Accessories That Punch Above Their Weight
Small items make the difference between a comfortable day and a miserable one. None of these take much room, and skipping them is a common regret.
- Trekking poles: A pair takes real strain off your knees on descents and steadies you on loose ground. Many trekkers who leave them behind on the climb wish they had them coming down. Poles are cheap to rent in Kathmandu if you would rather not fly with them.
- Headlamp: Not a handheld torch, a headlamp that keeps your hands free. You will use it for pre-dawn starts, dim tea-house corridors, and late trips to the bathroom. Pack spare batteries, which drain faster in the cold.
- Water treatment: Tap and stream water is not safe to drink untreated, and buying bottled water uphill is expensive and leaves plastic behind. Bring purification tablets, a filter, or a UV pen, plus two reusable bottles or a hydration bladder. Treating your own water is cheaper, lighter on the mountain, and a small act of responsible tourism.
- Sunglasses: Category 3 or 4 lenses with side coverage. Snow glare at altitude is intense enough to cause temporary snow blindness, so this is a safety item, not a fashion one.
- Buff or neck gaiter, warm hat, and gloves: A thin liner glove plus a warm outer glove covers most conditions. A sun hat handles the lower, hotter sections.
Keep your daypack organized so these live in the same pocket every day. On a cold, tired afternoon you do not want to unpack everything to find your headlamp.
Health Kit, Sun Protection, and Altitude Medication
Your guide carries a group first-aid kit, and on many routes a satellite phone or radio for emergencies. Still, a personal kit handles the small daily problems that never rise to an emergency but can ruin a day: a hot spot on your heel, a headache, an upset stomach.
A sensible personal health kit includes:
- Blister care: Adhesive dressings and blister-specific plasters. Treat a hot spot the moment you feel it, not when it becomes a blister.
- Painkillers and anti-inflammatories: For headaches, sore knees, and general aches.
- Rehydration salts: Altitude, dry air, and exertion dehydrate you faster than you expect. Salts help you recover and can ease a mild headache.
- Stomach medication: Anti-diarrheal tablets and rehydration for the occasional bad meal, plus any personal prescriptions in their original packaging.
- Personal prescriptions: Bring enough for the whole trip plus a few spare days, since pharmacies are scarce on the trail.
Sun protection deserves its own attention, because the sun is stronger the higher you go. Ultraviolet radiation increases by roughly 10 percent for every 1,000 meters of altitude, and fresh snow reflects a large share of it back at you, according to the World Health Organization. Pack a high-SPF sunscreen, an SPF lip balm, and reapply more often than you think you need to. Sunburn on the underside of your nose and chin, from snow glare, catches out plenty of first-timers.
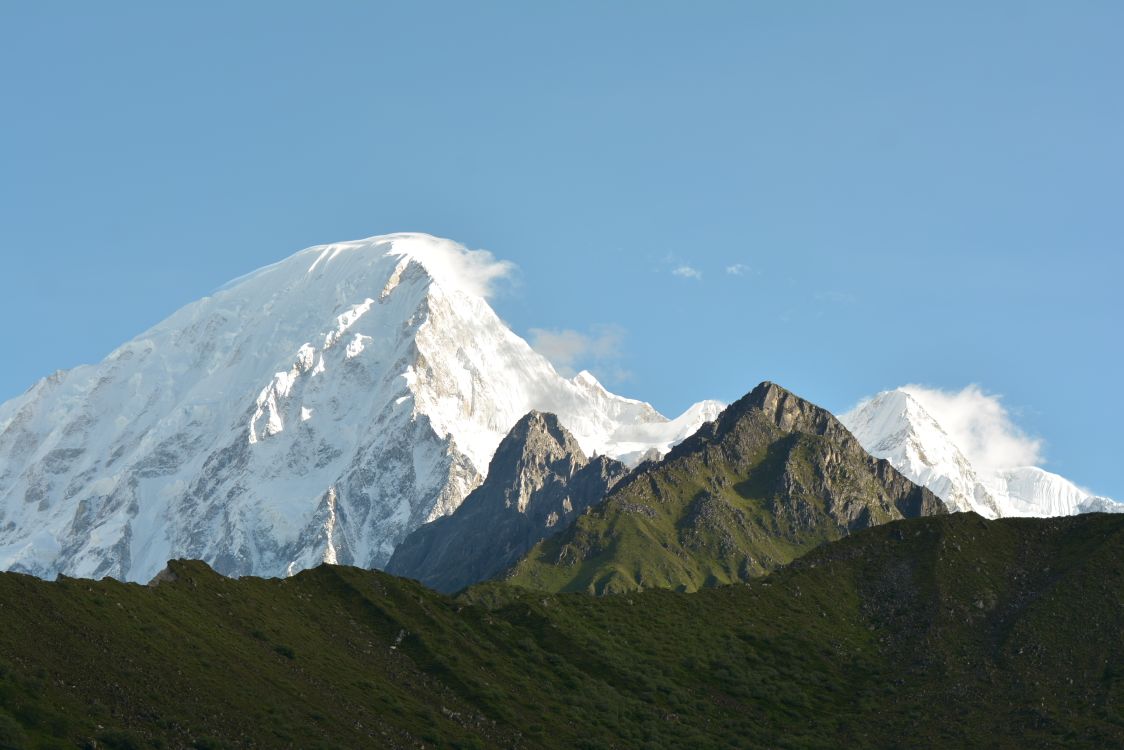
Altitude is the health issue that worries most trekkers, and rightly so. Acute mountain sickness can begin around 2,500 meters, and one-day ascents above 3,500 meters count as high risk, according to a review of Wilderness Medical Society guidance. The best prevention is not a pill. It is a sensible ascent profile with rest days, which is why good itineraries build in acclimatization stops. For prevention, the same guidance describes acetazolamide at 125 milligrams every 12 hours, started the day before ascent, but this is a conversation to have with your own doctor before you fly, not a decision to make on the trail. If symptoms get worse despite resting, the only reliable treatment is to descend.
For a route like the Everest Base Camp Trek, which tops out at 5,364 meters, understanding altitude before you go is as important as any item in your bag.
What to Rent, What to Buy, and What to Bring From Home
Kathmandu's Thamel district is full of gear shops, and this changes the packing calculation completely. You do not need to fly halfway around the world carrying a full expedition kit. The trick is knowing what is safe to source locally and what should come from home.
Rent in Kathmandu. Bulky, cold-weather items that you use for one trip and rarely again are the obvious candidates:
- Down jackets rated for high altitude
- Sleeping bags rated to minus 10 or colder
- Trekking poles
- Gaiters and crampons for snowy passes
Renting these keeps your checked luggage light and cheap, and quality rental gear is widely available. Confirm exact rental rates and the condition of the gear with your operator when you book, since availability and price vary by season and shop.
Buy in Kathmandu if you forgot something. Thamel sells everything from base layers to headlamps. Quality ranges from genuine brand-name gear to convincing lookalikes, so inspect anything you plan to rely on. Base layers, socks, hats, gloves, sunglasses, water bottles, and sunscreen are all easy to pick up. It is a good safety net, not a reason to arrive empty-handed.
Bring from home, no exceptions. A few items are too personal or too important to leave to chance:
- Boots. Fit is everything, and you need weeks to break them in. Never rent or buy boots on arrival.
- Base layers and socks. Cheap, light, and worth having in a fit you trust.
- Prescription medication and glasses. Local pharmacies may not stock your exact prescription.
- A well-fitted daypack. You wear it all day, every day.
If you are combining Nepal with a trip across the border, note that cold-weather rentals in Kathmandu are also handy for a Kailash Mansarovar Yatra, where nights on the Tibetan plateau run bitterly cold and shops are far scarcer than in Thamel.
Documents, Money, and the Small Things People Forget
Gear gets all the attention, but the items that cause the most stress on a trek are often the boring administrative ones. Keep these together in a waterproof pouch that lives in your daypack, never in the porter's bag.
- Passport and permits. Most treks require entry permits and, on some routes, a TIMS card. Your operator usually arranges these, but carry your passport and a printed copy, since checkpoints ask for them.
- Cash in small notes. There are no ATMs at high altitude, and card payment is rare on the trail. Bring enough Nepali rupees in small denominations for meals, hot showers, charging, snacks, and tips.
- Travel insurance details. Choose a policy that covers trekking to your maximum altitude and includes helicopter evacuation, then carry the policy number and emergency line with you.
- Spare passport photos. Handy for permits and border formalities if you extend into Tibet or Bhutan.
None of this weighs anything, and having it organized means you spend checkpoint stops handing over documents rather than digging through a duffel.
Adjusting Your List for Different Treks and Seasons
A single packing list cannot cover every route, because a teahouse trek in October and a high pass crossing in March ask for different gear. Adjust along two axes: altitude and season.
- Lower cultural and forest walks such as Ghorepani Poon Hill or the lower Annapurna foothills need lighter insulation and less serious footwear. A warm layer and a rain shell usually suffice.
- High, cold routes such as Everest Base Camp, the Everest Three Passes, Manaslu Circuit, or Gokyo Lakes demand the full layering system, a warm sleeping bag, sunglasses, and often gaiters for snow.
- Monsoon and shoulder seasons raise the priority of waterproofing, a pack rain cover, and quick-drying clothing. Winter treks push your sleeping bag rating colder and add hand and foot warmers.
If you are unsure which season you are packing for, decide your travel dates first. Knowing what weather to expect month by month tells you how much insulation to carry, how cold a sleeping bag to rent, and whether waterproofing needs to be a priority.
Packing Tips From Mission Nepal Guides
The gear list is only half the job. How you pack it, and the small habits you build, matter just as much on a long trek. These are the practical points our guides repeat most often.
- Use dry bags or thick plastic bags inside your duffel. They keep clothes dry in rain or snow and make it easy to find things by category: one bag for base layers, one for warm layers, one for socks and underwear.
- Keep the essentials in your daypack, always. Water, snacks, sun protection, a warm layer, and your rain shell should never travel in the porter's bag, because you may not see that bag until evening.
- Pack your day's clothes the night before. Getting dressed for a cold 5 a.m. start is far easier when everything is already laid out in your sleeping bag with you, where body heat keeps it warm.
- Weigh your duffel before you leave. If a porter carries it, aim for the roughly 15-kilogram cap. Overloading is unfair to the person carrying it and often means you packed things you will not use.
- Bring a power bank and charge when you can. Electricity at high tea houses is limited and often costs extra. Cold also drains phone and camera batteries fast, so keep spares in an inside pocket close to your body.
- Carry a few small comforts. Earplugs for thin tea-house walls, a paperback or downloaded content for early nights, and a handful of your favorite snacks all lift morale on a hard day.
A trusted operator smooths out the guesswork here. When you book a guided trip, ask for a route-specific and season-specific packing list, and ask what gear is included, provided, or easy to rent. For anyone weighing their first big Himalayan trip, our overview of guided Nepal trekking adventures explains how support like porters, guides, and shared kit changes what you personally need to carry.
Your Next Step
Before you buy a single item, decide on your route and season, then split your list into three piles: bring from home, rent in Kathmandu, and buy only if you forget. That one exercise saves money, spares your back, and stops you flying gear across the world that you could have picked up in Thamel for a few dollars.
Start breaking in your boots this week, and reach out to Mission Nepal Holidays for a packing list tailored to your exact trek and travel dates. Getting the list right now is what lets you stop thinking about your bag once you are on the trail, and start looking up at the mountains.
Frequently asked questions
How much should my trekking bag weigh?
If a porter carries your duffel, most operators cap it near 15 kilograms per trekker. Your own daypack usually sits between 6 and 10 kilograms once you add water, layers, and a camera.
Can I buy all my gear in Kathmandu instead of packing it?
You can buy or rent most items in Thamel, including down jackets, sleeping bags, and poles. Bring your own boots, base layers, and any prescription medication from home, since fit and quality matter most for those.
Do I need trekking poles for Everest Base Camp or Annapurna?
Poles are optional but genuinely helpful on long descents and rough ground. Many trekkers who skip them on the way up wish they had them coming down. You can rent a pair in Kathmandu for a few dollars.
What medication should I bring for altitude?
Talk to your doctor about acetazolamide before you travel. Also pack painkillers, rehydration salts, blister care, and any personal prescriptions. Your guide carries a group first-aid kit, but a personal one covers the small daily problems.